-40%
Under Desk Keyboard Tray, Sturdy Key Board Tray Under Desk Slide Round Corner
$ 17.94
- Description
- Size Guide
Description
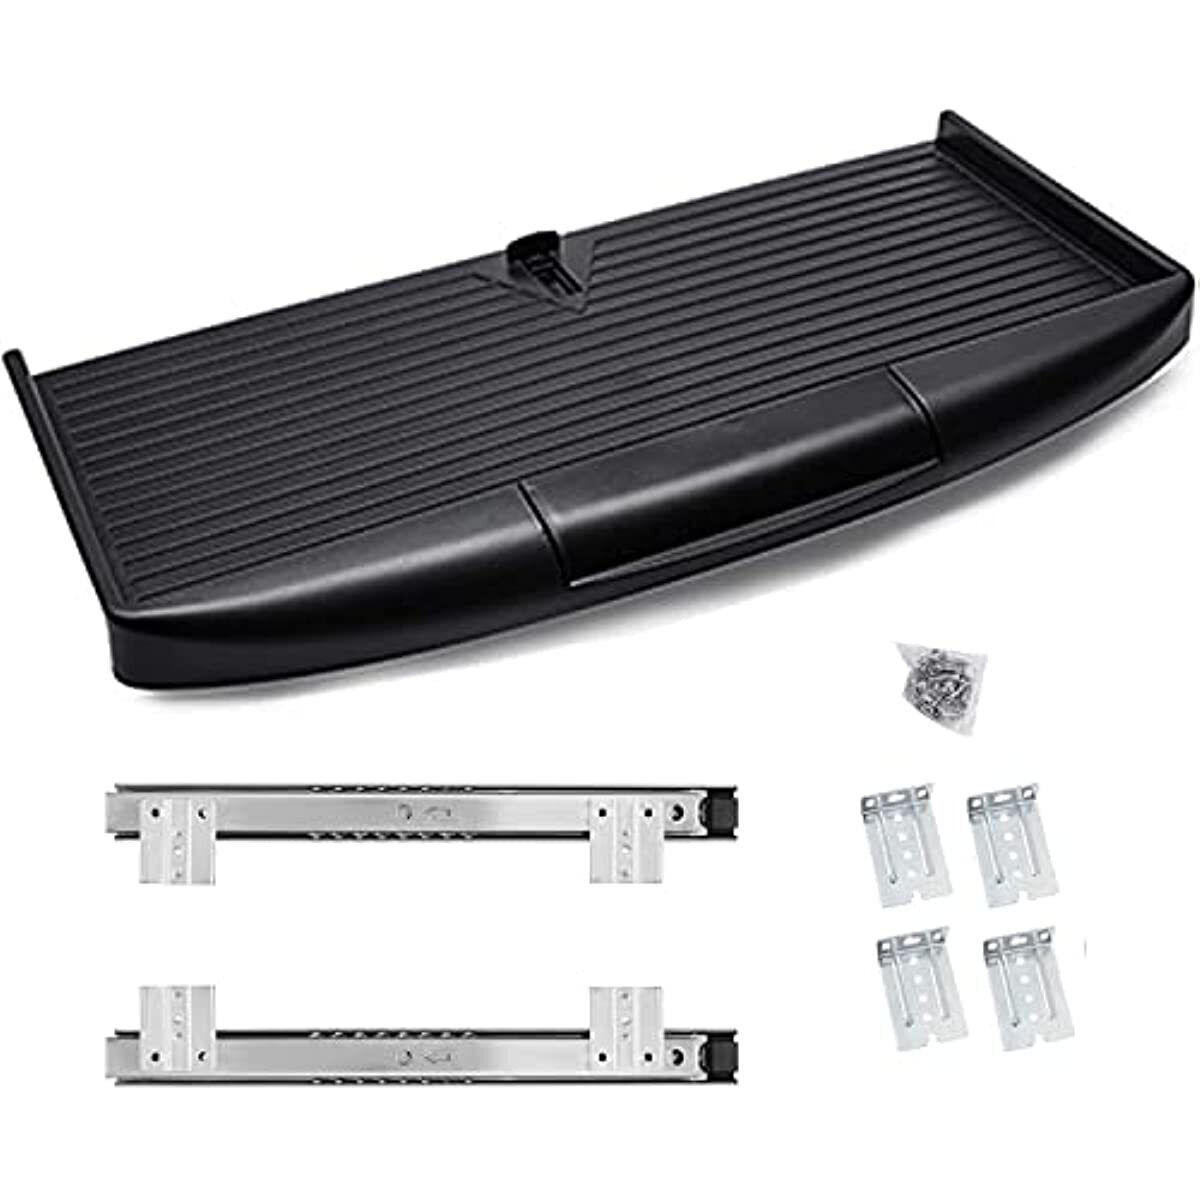
Smooth gliding stainless steel rail, built to last.Enclosed compartment prevents keyboard from sliding off.
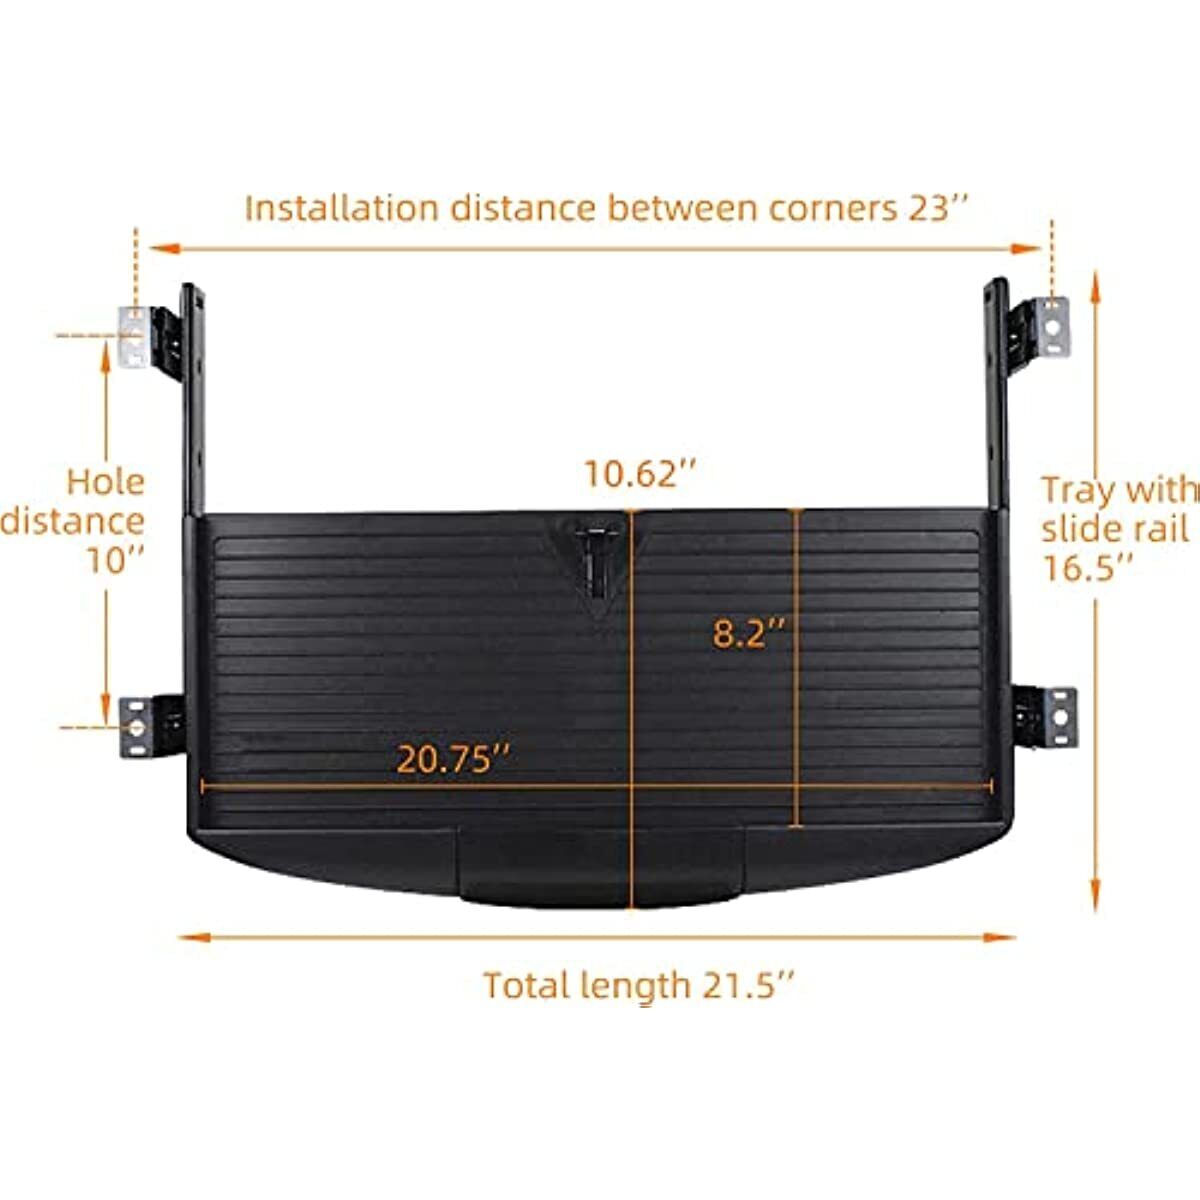
Ideal for flat desktop no smaller than 23” L x 15” W.
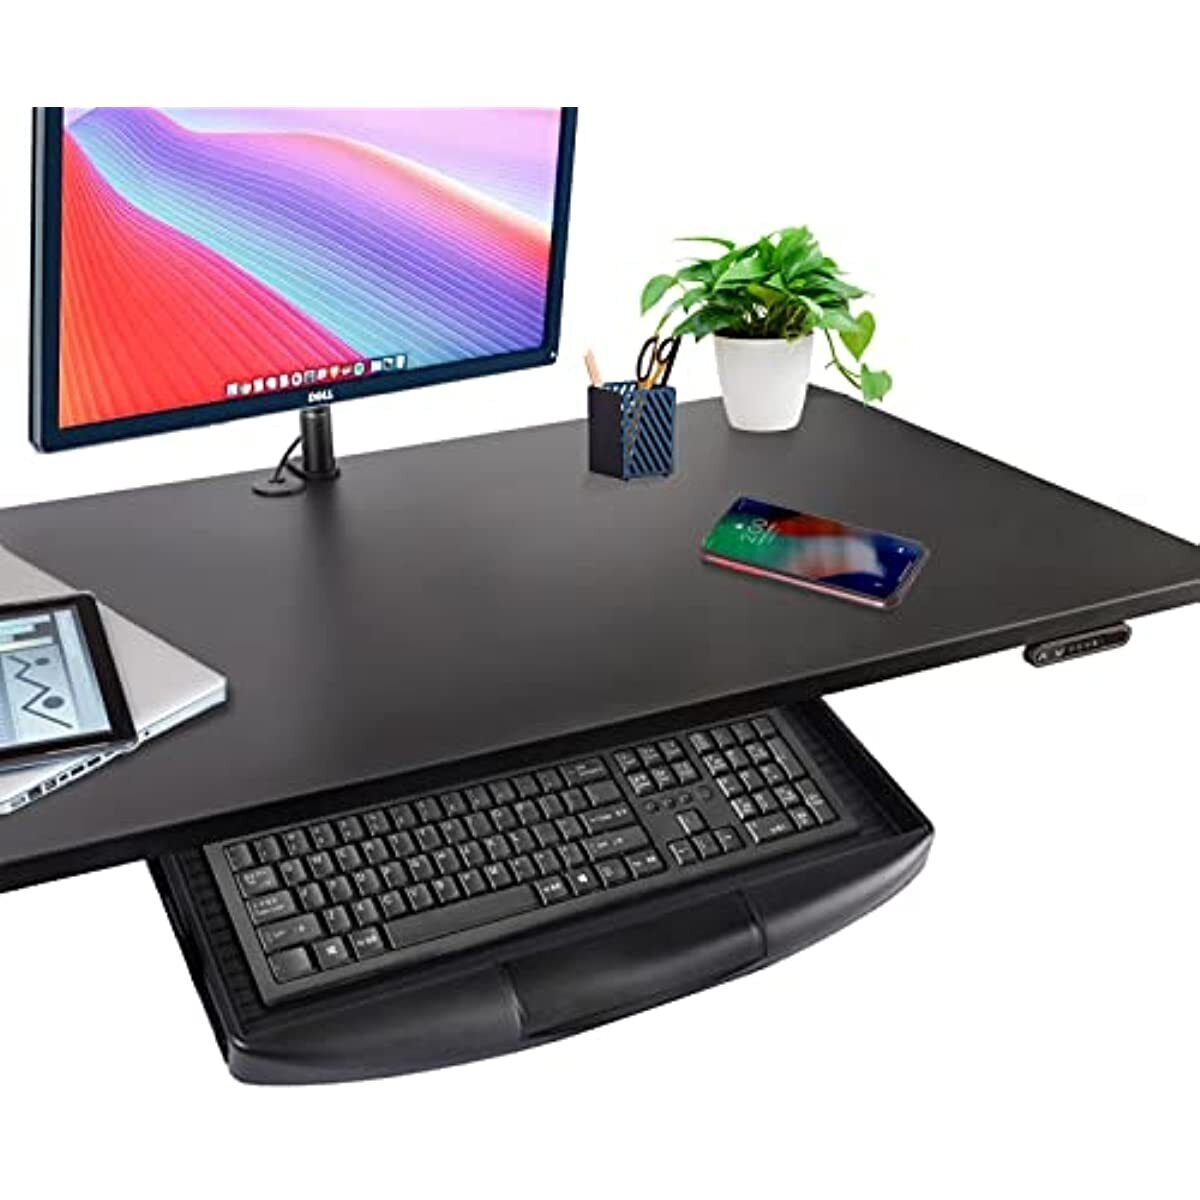
Fit for most keyboards with a size below 19” L x 7.9” W; and extra space for pens and small stationeries.
Easy to install with all accessories included. Just follow our detailed instructions step by step!
Product Description
TooCust Under Desk Keyboard Tray
Plastic Round Keyboard Tray Under Desk
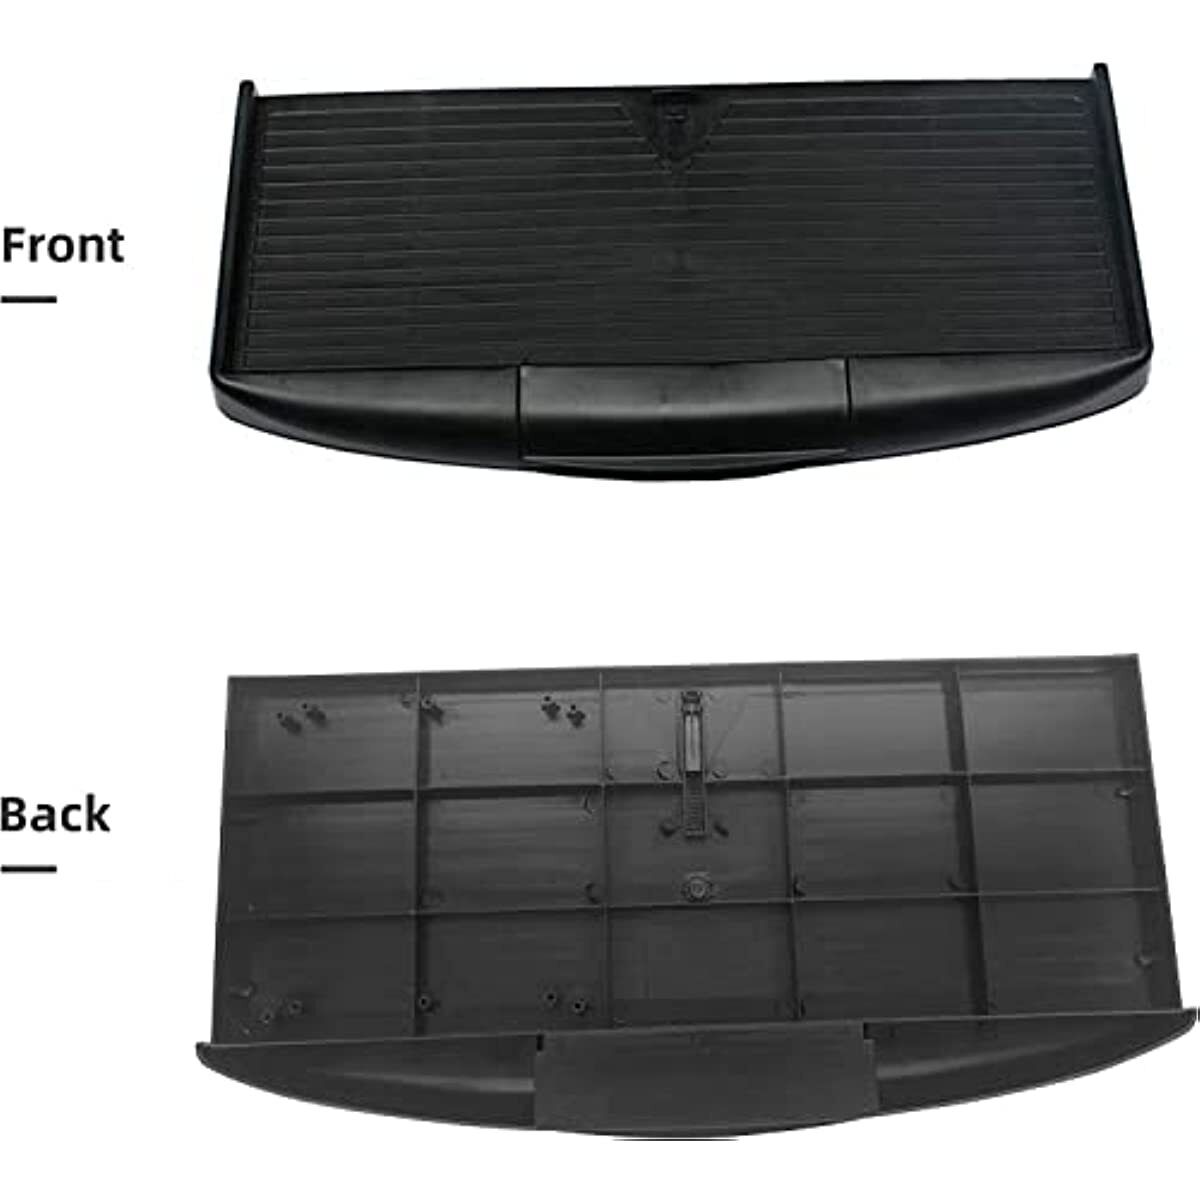
TooCust plastic round under desk keyboard tray creates more space on your desktop by easily sliding out and in when not in use.
Easily adjust the height of the shelf to choose the right location according to your different needs.
Drawer-design Tray
Retractable smooth sliding rail design ensures the desk drawer slides smoothly forwards and backwards.
Easily slide the tray under your desk when not in use, and instantly pull it out when you need extra space.
ADJUSTABLE HEIGHT
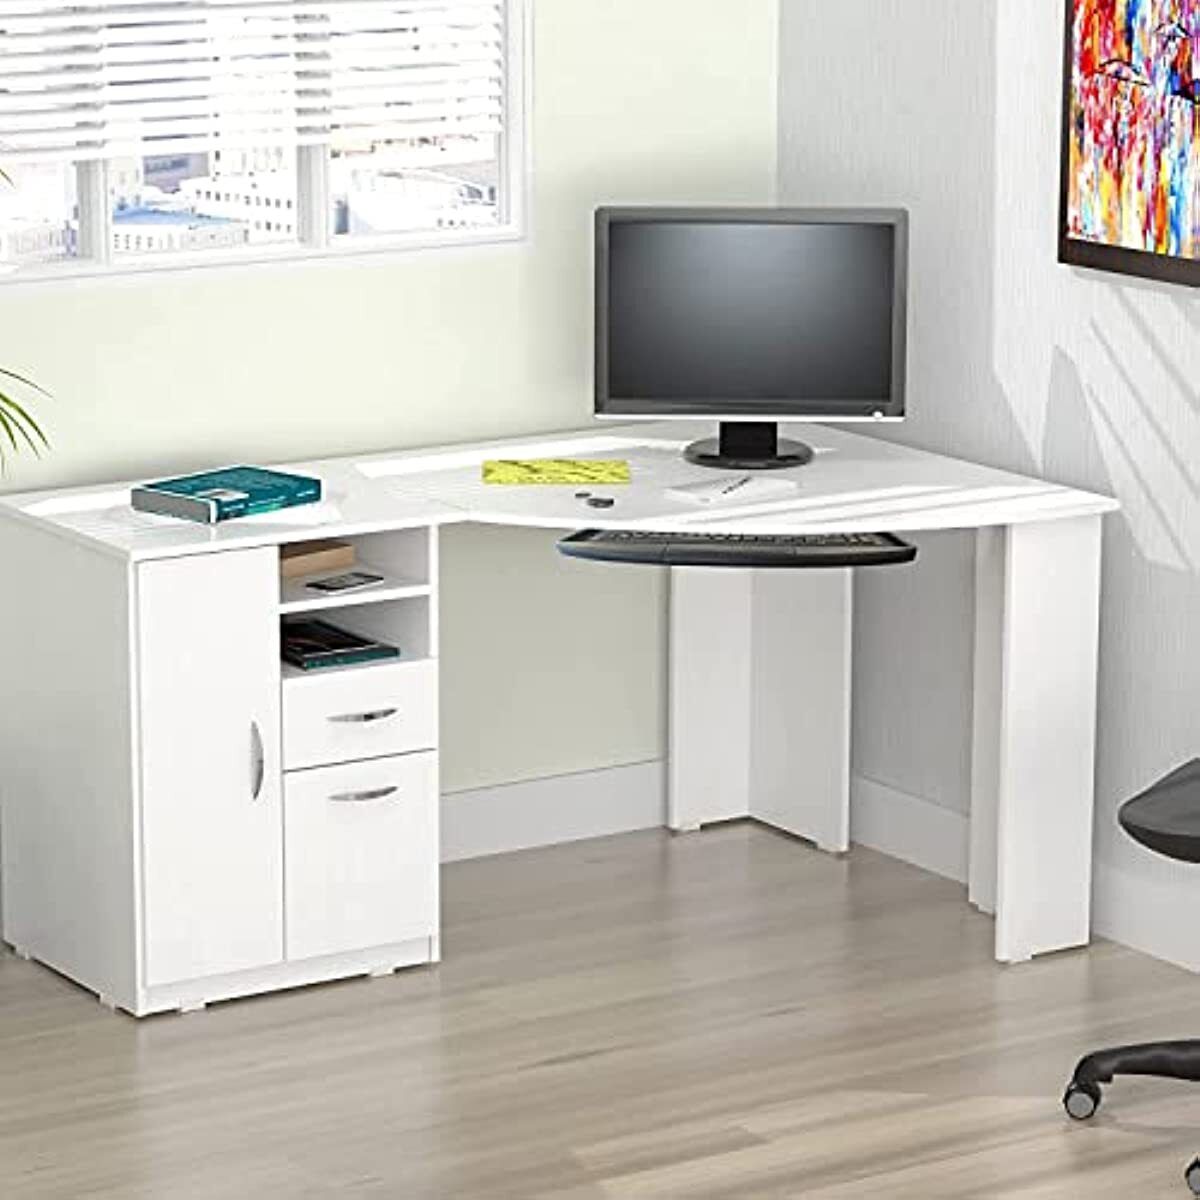
Ideal Fit For Desks
Can be mounted at 3 different heights for individual comfort.
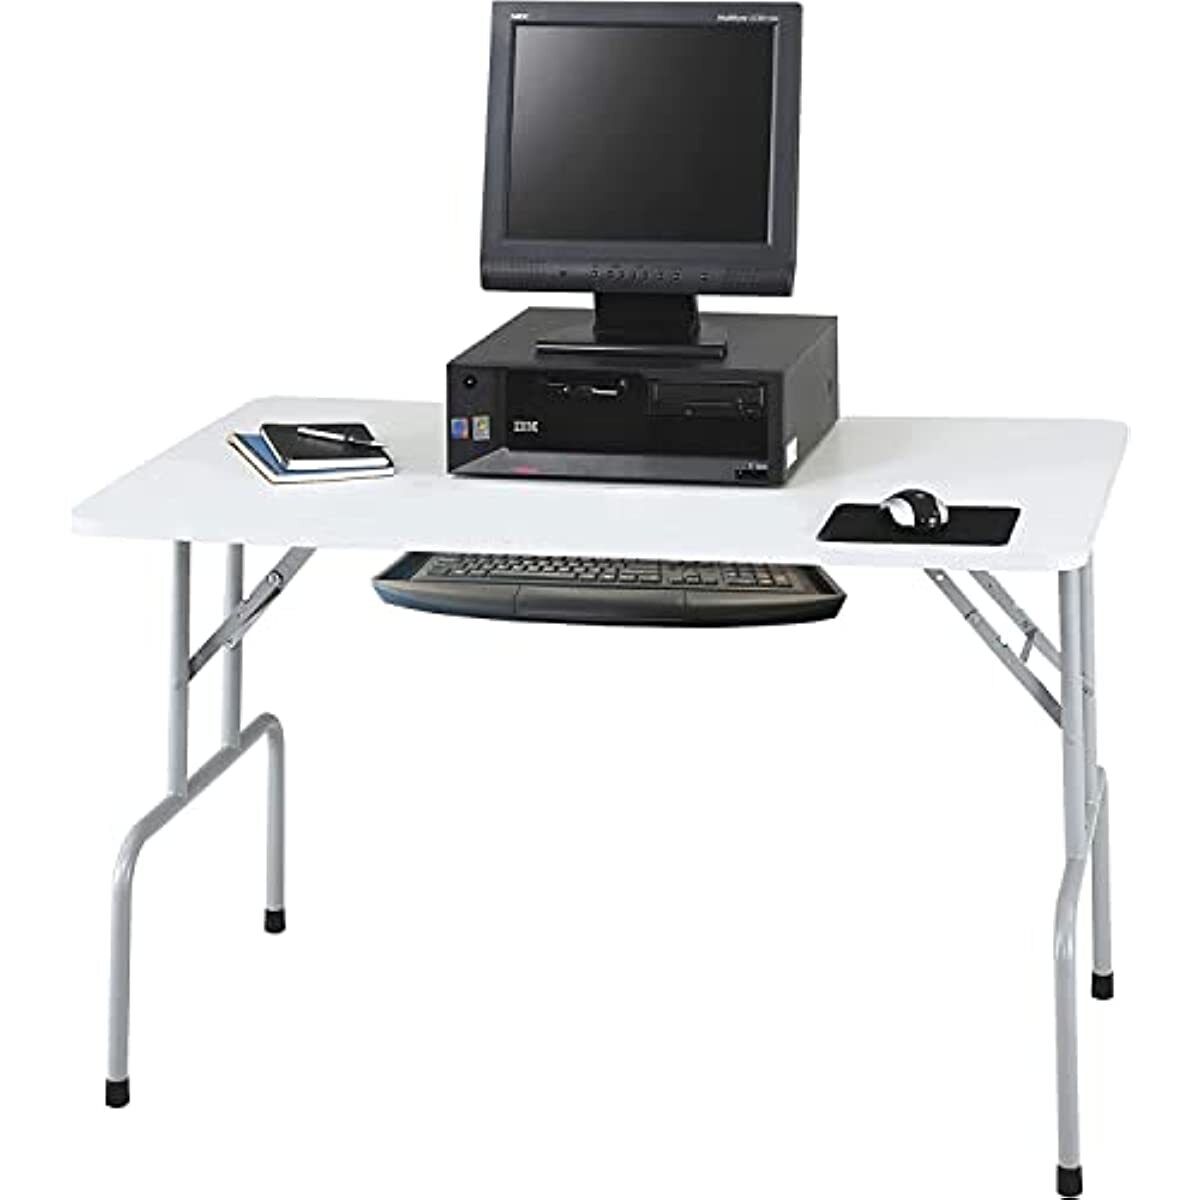
Economical way to reduce desk clutter and position keyboard below the desk.
STURDY STRUCTURE
CARD SLOT DESIGN
SILENCE SLIDE RAIL
Fit for the most keyboards with a size below 20.7” L x 8.2” W
Maximize desk space and create a more efficient workspace simply by adding our keyboard tray under the desk.
It has ample space for your keyboard, pen and other office items.
Read more
This ergonomic setup allows you to keep your elbows bent at the optimal angle to reduce strain on your wrists and arms.
INSTALLATION STEPS
Step 1: Screw the 4 L mounting brackets on the slider.
Step 2: Screw the two sliders on the two sides of the tray.
Step 3: Suggest using drill pit to drill the holes on the desk bottom and then screw the tray onto it.
Step 4: Installation is completed.

